


-
Departments
DepartmentsDepartments -
Today's Deals


How to Install & Use Your Tenshine TS-DW5 Commercial Heated Display Cabinet (Video Guide)
How to Install & Use Your Tenshine TS-DW5 Commercial Heated Display Cabinet (Video Guide)
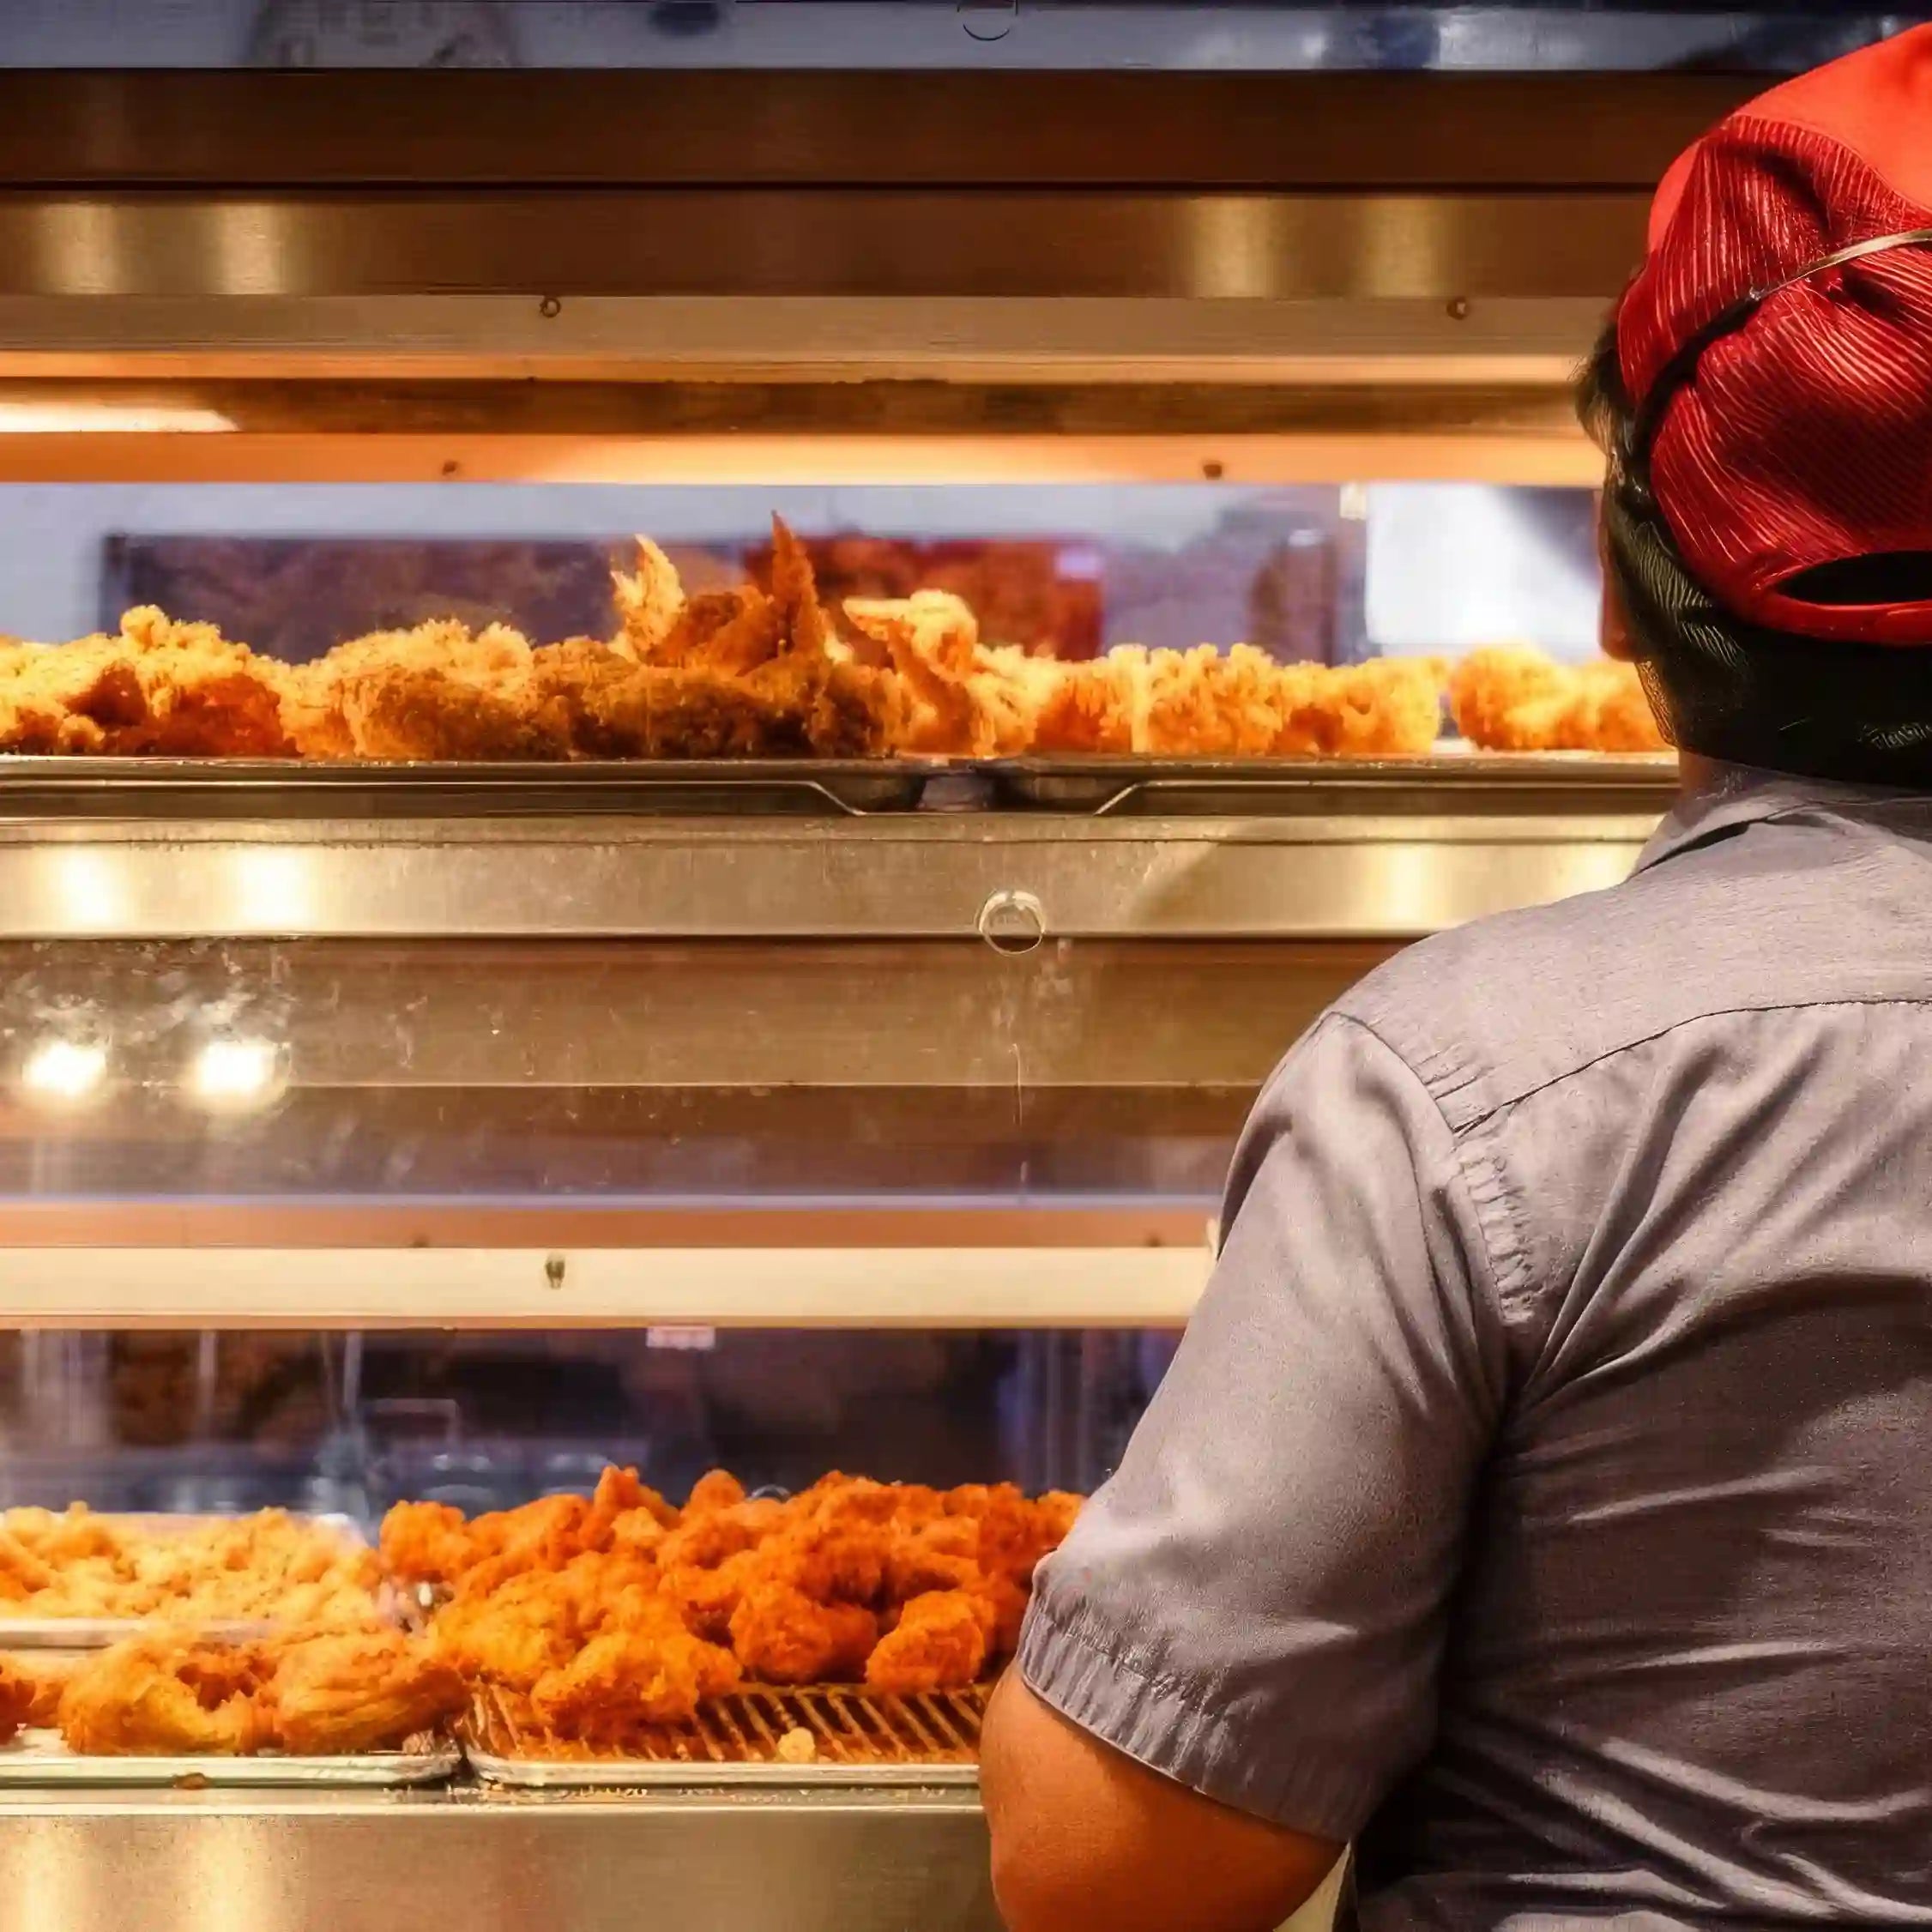
Proper installation and operation of your Tenshine TS-DW5 Heated Display & Fried Chicken Holding Cabinet are essential for maintaining the "just-cooked" freshness while maximizing your sales through its 2-tier premium merchandiser design.
In this comprehensive guide, we break down our official video tutorial to help you set up your commercial pass-through warmer, covering everything from the premium German EGO temperature controls to the automated humidity water system.
Watch the Installation Video
1. Understanding the Control Panel
Your TS-DW5 cabinet is equipped with precision components to ensure consistent heat and perfect humidity for high-volume fast-food operations:
-
German EGO Energy Regulators: The upper and lower heating elements are controlled by high-quality German EGO regulators, ensuring extreme temperature stability and a longer machine lifespan.
-
Independent Dual-Tier Controls: You can control the heating elements and display lighting for the upper and lower tiers separately, allowing for flexible merchandising and energy savings.
-
Advanced Water Management System:
-
Water Thermostat: Precisely controls the heating of the bottom water tray for humidity.
-
Low Water Indicator: A green LED safely warns your staff when the water level drops.
-
3-Way Water Switch: Choose between Automatic Water Supply, Manual Refill, or Off.
-

2. Step-by-Step Installation Guide
Step 1: Install Accessories & Glass Panels
-
Tool Hooks: Install the heavy-duty hooks into the side of the cabinet for convenient tong storage.
-
Amber Glass (Merchandising Secret): Install the amber glass strips into the upper lampshades. This specialized tint makes fried foods look warmer, more golden, and irresistible to customers behind the counter.
-
Window Panels: Slide the tempered glass panels into the front and rear tracks. (Note: Peel off the protective film from the acrylic side panels for a crystal-clear display!)
Step 2: Drainage Connection To prevent overflow and simplify cleaning:
-
Insert the overflow outlet device into the base.
-
Connect the drainage joint underneath the lowest level.
-
Attach the drain elbow to direct waste water to your floor drain.
Step 3: Water & Power Connection
-
Water Supply: Connect a 1/2" stainless steel hose to the solenoid valve for automatic daily refilling.
-
Power: Ensure the unit is properly grounded (Live, Neutral, and Earth) according to your local codes.
3. Professional Usage Tips for the TS-DW5
Maximize your food quality with this tier-based strategy:
-
💧 Lower Tier (Moist Foods): Use perforated trays. This level is closer to the water pan, keeping fried chicken, burger patties, and buns soft and juicy.
-
🔥 Upper Tier (Crispy Foods): Use solid trays. This area is ideal for items that need to stay extremely crunchy, such as french fries, hash browns, and onion rings.
-
🌡️ Temperature Recommendation: Maintain between 60°C - 70°C (140°F - 158°F) for food safety without drying.
- Choosing a selection results in a full page refresh.