


-
Departments
DepartmentsDepartments -
Today's Deals


How to Install & Use Your Commercial Food Holding Cabinet (Video Guide)
How to Install & Use Your Commercial Food Holding Cabinet (Video Guide)
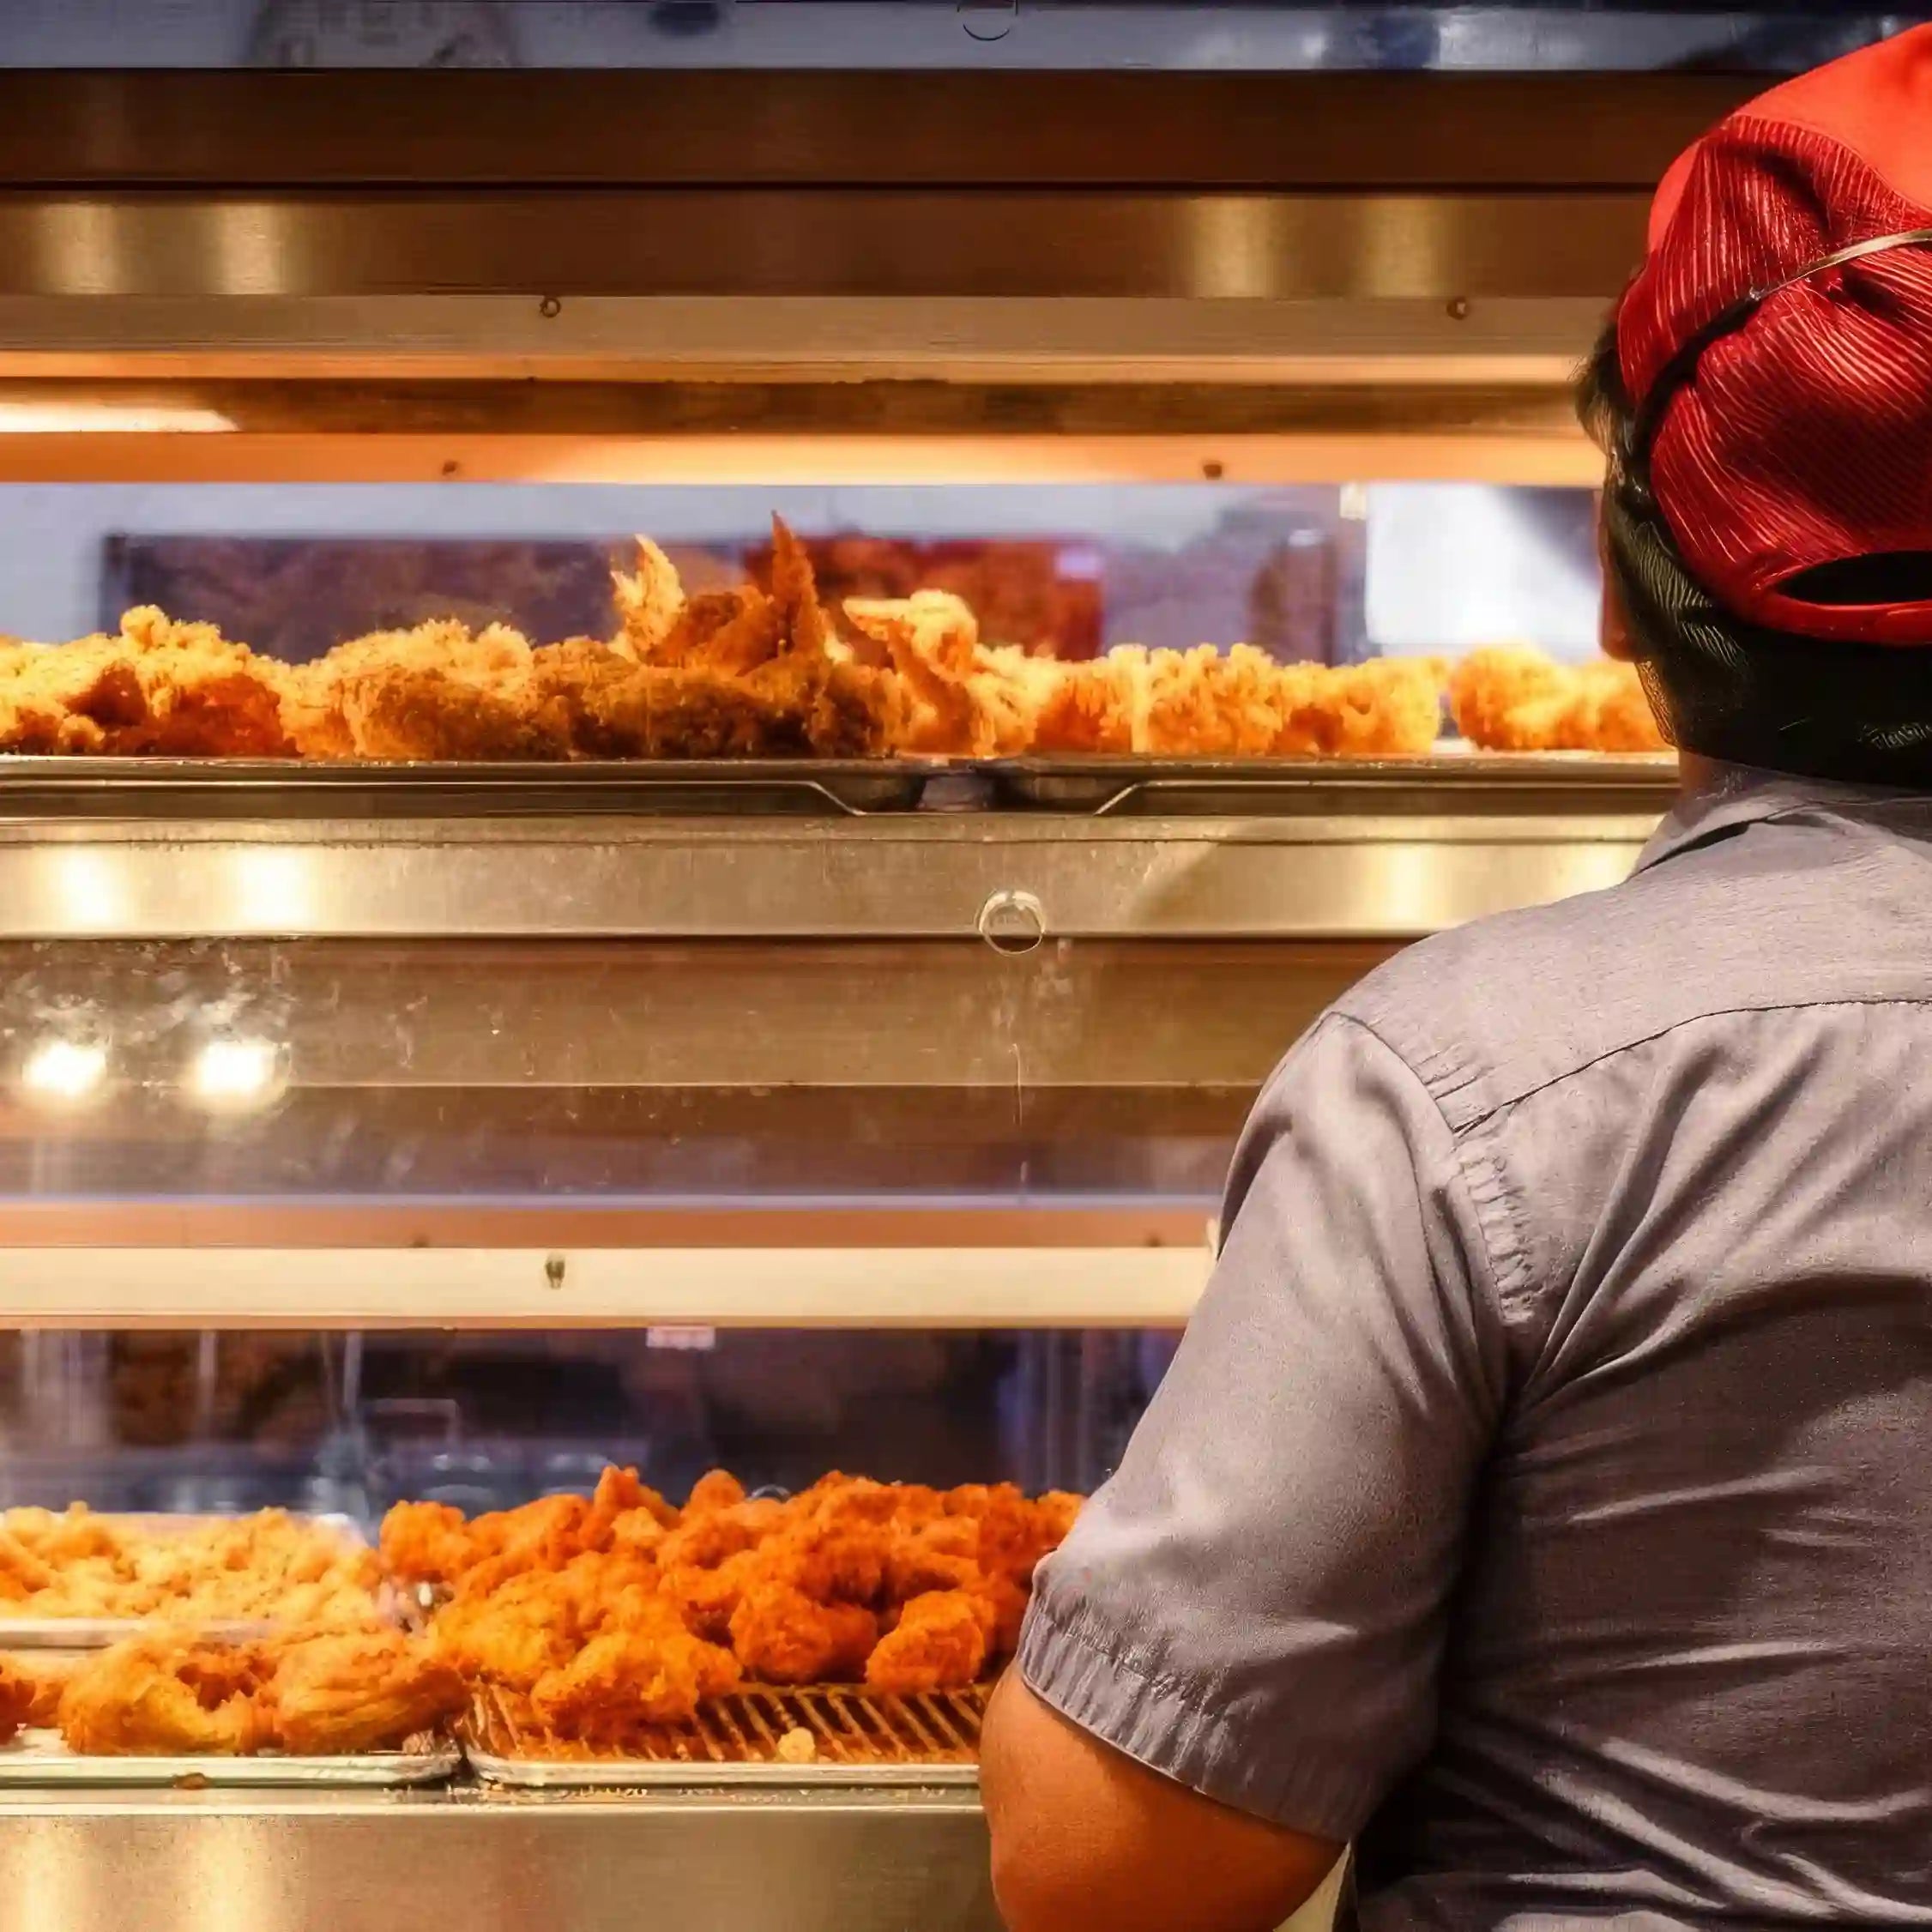
Proper installation and operation of your Tenshine HCW Series Food Holding Cabinet are essential for maintaining the "just-cooked" freshness of your fried chicken and burgers.
In this guide, we break down the video tutorial to help you set up your KFC-style pass-through warmer, covering everything from the German EGO controls to the humidity water system.
Watch the Installation Video
1. Understanding the Control Panel
Your cabinet is equipped with precision components to ensure consistent heat and humidity:
-
German EGO Energy Regulators: The upper and lower heating elements are controlled by high-quality German EGO regulators for precise temperature stability.
-
Independent Controls: You can control the heating and lighting for the upper and lower levels separately.
-
Water Management System:
-
Water Thermostat: Controls the heating of the water tray.
-
Low Water Indicator: A green LED warns you when the water level is low.
-
3-Way Water Switch: Allows you to choose between Automatic Water Supply, Manual, or Off.
-
2. Step-by-Step Installation Guide
Step 1: Install Accessories & Glass
-
Tool Hooks: Install the hooks into the pre-drilled holes on the side of the cabinet. These are perfect for hanging food tongs.
-
Amber Glass: Install the amber glass strips into the lampshades (similar to installing a ceiling tile). This specialized glass makes food look warmer and more appetizing.
-
Window Panels: Manually install the tempered glass panels on the front and rear. Don't forget to peel off the protective film from the acrylic panels for a crystal-clear view.
Step 2: Drainage Connection To prevent overflow and make cleaning easy:
-
Insert the overflow outlet device and protective ring.
-
Connect the drainage connection underneath the lowest level and tighten it.
-
Attach the drain elbow and connect a hose to direct waste water to your floor drain.
Step 3: Water & Power Connection
-
Water Supply: Connect a 1/2" stainless steel high-pressure hose to the water solenoid valve at the bottom for automatic refilling.
-
Power: Ensure the unit is grounded. Connect the Live (L), Neutral (N), and Earth (E) wires correctly according to the manual.
3. Professional Usage Tips (Crucial for Food Quality)
Tray Placement Strategy:
-
Lower Level (Moist Foods): Use the portion trays WITH holes. This level is closer to the water pan, allowing humidity to rise through the holes to keep fried chicken and burgers moist and juicy.
-
Upper Level (Crispy/Dry Foods): Use the solid portion trays (NO holes). This area is dryer and ideal for foods that don't require high humidity retention.
Temperature Recommendations:
-
We recommend maintaining a holding temperature between 60°C - 70°C to ensure food safety without drying out the product.
Need Spare Parts or Upgrades? Shop our full range of Commercial Food Holding Cabinets and accessories.
- A escolha de uma seleção resulta em uma atualização completa da página.